Stumbling upon an unofficial Facebook page for your business is a jarring experience. To claim a Facebook Page, you’ll either need to go through Meta Business Suite and request access from the current admin, or if it’s an unmanaged page, you’ll have to prove your ownership to Meta directly with business documents. Getting control is the only way to steer your brand’s narrative online.
Why Claiming Your Facebook Page Is Non-Negotiable
An unclaimed or rogue Facebook page isn’t just a nuisance; it’s a genuine liability. These pages pop up for all sorts of reasons—sometimes they’re auto-generated from customer check-ins, other times they’re abandoned by a former employee. Either way, an unmanaged page can do real damage. It becomes a digital ghost town where misinformation festers, negative reviews sit unanswered, and customer questions echo into the void.
This kind of digital neglect has a direct impact on your reputation and, ultimately, your revenue. An unclaimed page just creates confusion, splitting your potential audience and watering down your marketing efforts.
The Real-World Consequences
Think about it from a customer’s perspective. They search for your business on Facebook and find two results: your official, active page and an unofficial one with an old address and a string of unanswered complaints. That’s an instant credibility killer. It’s enough to send them right into the arms of a competitor.
Taking control of your page brings immediate, tangible benefits:
- Centralized Brand Control: You create a single, authoritative hub for all customer-facing information. No more confusion.
- Reputation Management: You can finally respond to reviews, handle complaints professionally, and actually engage with your community.
- Enhanced Visibility: Claimed and verified pages tend to rank better in search. With over 3 billion monthly active users on Facebook globally, you need every advantage you can get. Plus, verified accounts get a boost in search results, which is a huge deal considering Facebook drives nearly 50% of all social media referral traffic to e-commerce sites in North America. For more on this, Hootsuite has some great insights.
When you don’t claim your page, you’re leaving your digital front door wide open. You’re letting anyone—a disgruntled ex-employee or even a well-meaning but confused customer—define your brand for you.
Learning how to claim a Facebook page is a critical first step in building a solid online presence. It goes hand-in-hand with other essential digital strategies, like those covered in our guide to local SEO for small businesses. It’s all about ensuring your brand information is consistent, accurate, and trustworthy wherever customers might find you.
Gathering Your Proof of Ownership Toolkit
Before you even think about hitting that “claim” button on Facebook, you need to get your house in order. I’ve seen countless people dive in unprepared, only to face frustrating delays or outright rejections. Think of this step as building a legal case: your evidence has to be airtight.
The whole point is to hand Meta a file so clear and convincing that they have zero doubt you’re the rightful owner. Taking the time to gather everything upfront turns a potential headache into a simple, administrative task. It also signals to Meta’s support team that you’re professional and serious about protecting your business online.
Essential Documentation Checklist for Page Claims
To make this process as smooth as possible, I’ve put together a checklist of the documents you’ll need to have on hand. Having these ready to go will dramatically increase your chances of a quick, successful claim.
| Document/Information | Purpose | When It’s Needed |
|---|---|---|
| Official Business License | Links your business name to a government-recognized entity. | Almost always required for verification. |
| Utility Bill | Confirms your physical business address. | Crucial if your address needs verification. |
| Articles of Incorporation | Proves the legal formation and existence of your company. | A powerful piece of evidence for corporations. |
| Tax Documents | Officially ties your business name to a tax ID and address. | A strong alternative if other documents are unavailable. |
| Signed Declaration | A notarized statement confirming your authority to claim the page. | Often requested in complex or disputed ownership cases. |
Remember, the goal is to leave no room for ambiguity. The more official proof you can provide, the better.
Your Most Important Documents
You’ll need to start by collecting official paperwork that legally connects you to the business name and its physical location. This part is absolutely non-negotiable.
Your primary proof will likely be one of the following:
- A recent utility bill (gas, electric, water) with the business name and address clearly visible.
- A valid business license from your city, county, or state.
- The company’s Articles of Incorporation, which is solid gold for incorporated businesses.
- Official tax filings that list the business name and address.
Expert Tip: The name and address on your documents must perfectly match the details on the Facebook Page. A tiny difference like “St.” instead of “Street” can get your claim kicked back. I’ve seen it happen.
Keeping this information consistent everywhere is just good practice and a key part of business listing management, which helps maintain your brand’s integrity across the web.
Finally, make sure the personal Facebook profile you’re using is in good standing and is connected to a verified Meta Business Manager account. When you combine that with your official paperwork, you’ve built an undeniable case for ownership.
Claiming a Page Through Meta Business Suite
Alright, you’ve got your documentation sorted. Now it’s time to dive into the official process using Meta Business Suite. Think of this as your command center for all things business-related on Facebook and Instagram. It’s the only legitimate way to formally claim ownership of a Page, ensuring every request is securely logged and managed.
This process is designed to be fairly simple, but knowing exactly where to go is half the battle. You’re essentially sending an official request to the current Page owner, giving them a clear path to approve your access.
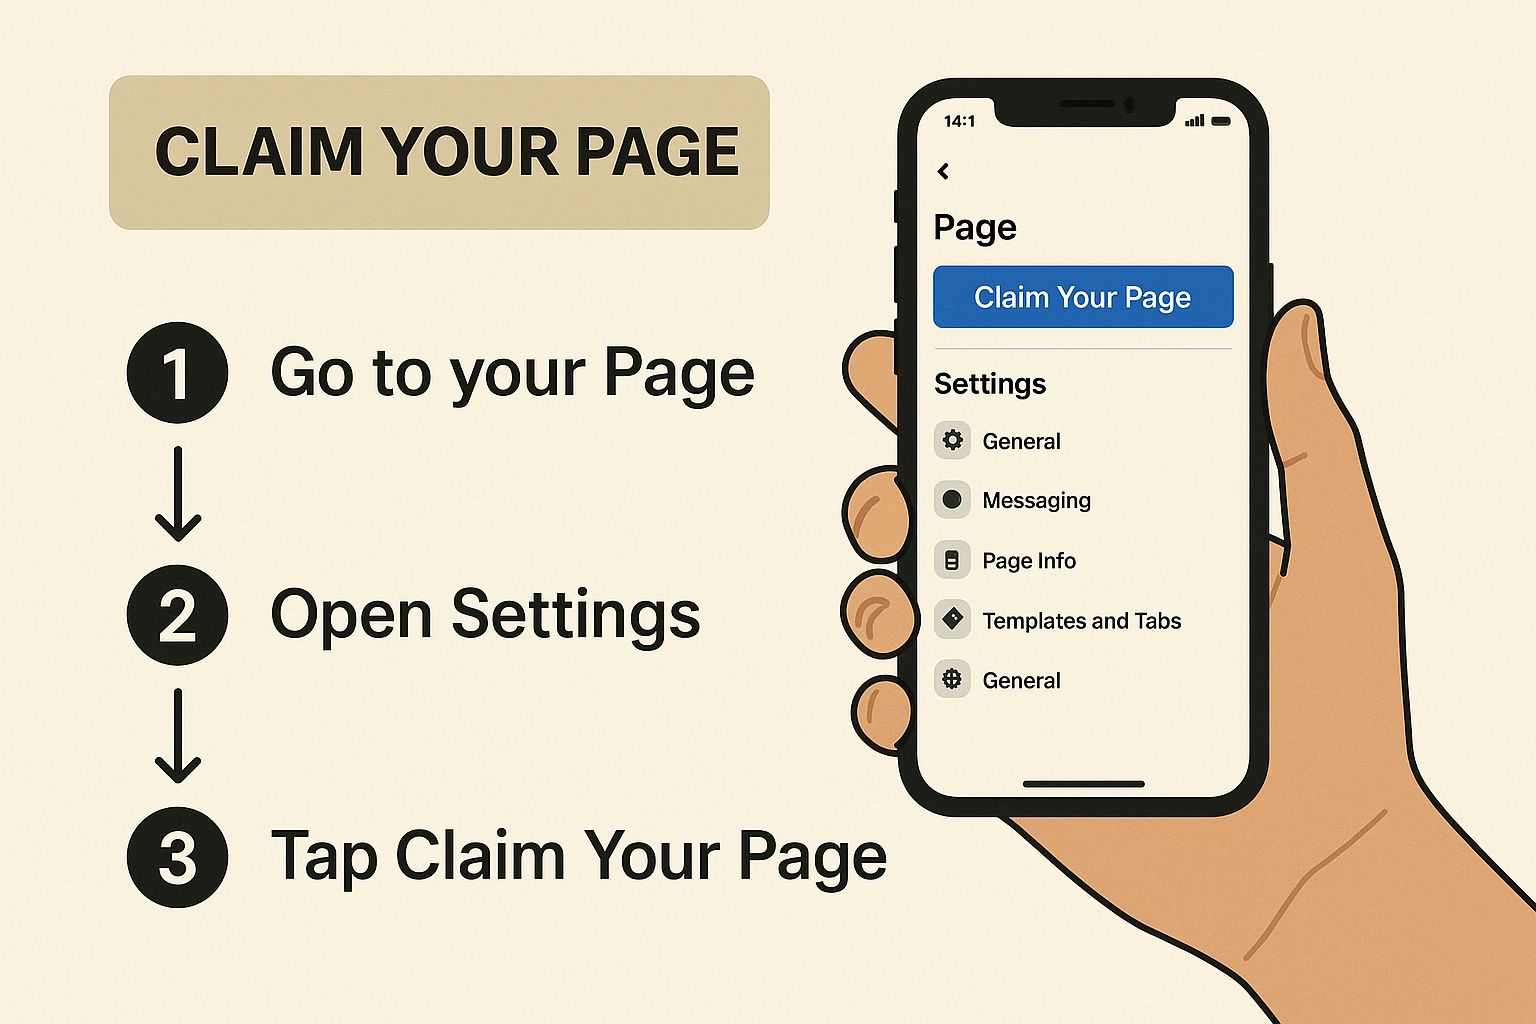
Kicking Off Your Access Request
First things first, log into your verified Meta Business Suite account. Once you’re on the main dashboard, you’ll need to find your Business Settings.
On the left-hand menu, look for the “Accounts” section and click on “Pages.” This screen will show you all the Pages currently connected to your business.
At the top, you’ll see a blue “+ Add” button. When you click it, you get a few different choices. Since you’re looking to get control of a Page someone else has, you’ll want to select “Request access to a Page.”
This is ground zero for claiming a Page someone else administers. The Business Suite interface looks like this, and it’s where you’ll be spending most of your time.
After you click, a pop-up window will ask you to find the Page by its name or URL. Pro-tip: always use the full URL. It’s the most foolproof way to find the exact Page you need, especially if the business name is common.
Once you’ve selected the right Page, you’ll need to define the level of access you need.
Be thoughtful about the permissions you request. If you need to do everything—run ads, manage posts, and assign roles to other team members—ask for “Full control.” If you just need to post content, you can choose a more limited role. Getting this right from the start saves a lot of back-and-forth later.
So, What Happens Next?
Once you hit submit, the current Page admin gets a notification. They typically have about seven days to respond. If they hit approve, the Page will magically appear in your Business Suite. It’s that simple.
But if they deny the request or just ignore it, you’re not out of luck. It just means you’ll have to escalate to the more involved ownership dispute process, which we’ll get into next.
In the United States alone, 191 million people are on Facebook, and with 78% of social media users logging in regularly, having a properly claimed Page is crucial for visibility. As of 2025, Facebook still drives a whopping 22.3% of all global social media referrals, making it a traffic source you simply can’t afford to get wrong. You can dive deeper into Facebook statistics to see just how powerful a well-managed presence can be.
Navigating Tricky Ownership Scenarios
Sometimes, the standard access request just doesn’t cut it. You might hit a dead end with an auto-generated page that has no admin, or even worse, find your Page is being held hostage by someone who won’t give you access. These situations are frustrating, but they aren’t hopeless—you just need to switch gears from asking for access to proving ownership directly to Meta.
One of the most common headaches is dealing with an “unofficial page.” Facebook often creates these automatically when customers check into a physical business that doesn’t have its own official Page. Since there’s no admin to approve a request, you have to claim it.
Claiming an Unmanaged or Unofficial Page
When you’re trying to take control of one of these ghost pages, Facebook’s main goal is to confirm you’re actually connected to the physical business location. It’s all about proving you’re the real deal.
Typically, you’ll have a couple of options:
- Phone Verification: Facebook might offer to call a publicly listed phone number for your business. You’ll get an automated call with a verification code to enter. Simple and fast, if your number is listed correctly.
- Document Submission: If the phone option isn’t available or doesn’t work, you’ll need to go the paper trail route. This means uploading official documents like a utility bill, business license, or tax filings that clearly show your business name and address.
This isn’t just red tape; it’s how Meta protects businesses from fraudulent claims.
The key here is proving you’re the real-world counterpart to the digital page. Clear, consistent documentation is your best friend—it leaves no doubt for the person at Meta reviewing your case.
When an Ex-Employee or Agency Won’t Let Go
This is easily the most stressful scenario. A former employee, contractor, or marketing agency has control of your Page and is either ignoring you or outright refusing to hand it over. If the relationship has gone sour, sending a polite request through Business Suite is probably going nowhere. It’s time to escalate.
You’ll need to file a formal dispute with Meta. This isn’t about asking for permission anymore; it’s about asserting your legal right to your own intellectual property.
Your best bet is to go through the Meta Help Center and file an intellectual property complaint or a trademark infringement report. You’re essentially making the case that another party is using your brand name and assets without your permission.
Get ready for a more formal process. You’ll need to arm yourself with documentation that proves you own the business name, logo, and other brand elements. This is where having your articles of incorporation, trademark registrations, and other official paperwork becomes absolutely crucial. Stay calm, be professional, and let your documents build the case for you.
Securing Your Page and Getting That Blue Checkmark
You’ve successfully claimed your page—that’s a huge step forward. But don’t pop the champagne just yet. The final piece of the puzzle is getting it officially verified by Facebook. That little blue checkmark does more than just look good; it transforms your page from another business profile into the official, authoritative voice for your brand.
It’s all about building instant trust.
To get verified, you’ll need to head into your Meta Business Suite and prove that your page is authentic, unique, and notable. This isn’t a rubber-stamp process. Facebook wants to see real-world evidence, which usually means submitting links to articles, press mentions, or other media coverage from independent sources that feature your brand.
What That Little Blue Badge Really Does for You
Don’t underestimate the power of verification. One recent test showed some pretty eye-opening results. While the badge didn’t magically make follower counts explode, it did drive a 30.2% jump in engagement and a whopping 79% increase in profile activity.
But here’s the real kicker: verified businesses earned nearly double the trust from consumers. That single icon tells people you’re the real deal. You can dig into the full findings on Meta Verified’s impact to see the data for yourself.
Think of it this way: a verified page sends a clear message to every visitor: “We are the official, legitimate voice for this brand.” In a noisy digital world, that simple signal is incredibly powerful.
With ownership and verification locked down, you can really start putting your page to work. This is when you can confidently dive into more advanced tools and start running effective campaigns. If you’re ready to explore paid advertising, this comprehensive Facebook Ads Manager tutorial is a great place to start.
Remember, building a strong digital presence doesn’t stop with Facebook. You need to make sure your business shows up correctly everywhere your customers are looking. Now that your Facebook Page is sorted, it’s a perfect time to add your business to Apple Maps and make sure you’re just as easy to find there.
Common Questions (and Headaches) When Claiming a Facebook Page
So, you’re trying to figure out how to claim a Facebook page. A couple of questions pop up all the time, and they usually revolve around two things: how long it takes and what to do when things get messy.
Let’s talk timeline first. If you’re lucky and there’s an active admin who can approve your request, you could have access almost instantly. But if you’re dealing with an unmanaged, “unofficial” page and need to submit documents, you’ll need some patience. Expect that process to take anywhere from a few days to a few weeks.
The other classic scenario is a real pain: a former employee, who’s now unreachable, still holds the keys to the kingdom. This is where you have to roll up your sleeves and file an official ownership dispute with Meta.
Navigating Disputes and Proving You’re the Owner
When you’re locked out, your best move is to gather every official business document you can find. Think tax forms, business licenses, or trademark certificates—anything that solidifies your claim as the rightful owner.
Once you have your proof, you’ll need to file an intellectual property report through the Facebook Help Center. Just be prepared; this isn’t a quick fix and often turns into a waiting game.
Is a Meta Business Suite account actually required to claim a page?
Yes, it absolutely is. For any serious business claim, this is the only way to do it. The Business Suite is Meta’s official and most secure channel for managing business assets. Trying to claim a page without it is a non-starter and pretty much guaranteed to fail.
Getting your Meta Business Suite account created and verified should always be step zero. Do this before you even think about starting the claim process. It lays the proper foundation for managing your page and proves to Meta that you’re operating professionally.
Mastering your online presence starts with controlling your assets. Reviews To The Top helps you manage your reputation and ensure your business shines everywhere customers look. Learn how we can help you today.


